Sunday, April 27, 2014

In: Classic spaghetti and meatballs

Growing up as a Korean American, my family didn't really have spaghetti and meatballs all that often. In fact, I can't recall ever making meatballs... But the boy wanted to make meatballs so here I am, figuring out how to make a good meatball. I found a recipe, tried it once, and decided to provide my modified instructions. If you want to see the original recipe,click here.

Step 1: Gather your ingredients

-1 lb lean ground beef
-1/2 tsp salt
-1/2 small onion (or about 1/2 cup), diced
-1/2 tsp garlic powder
-3/4 tsp oregano
-1/2 tsp crushed red pepper flakes
-1 dash hot sauce
-1 1/2 Tbsp Worchestershire sauce
-1/3 c milk
-1/4 c grated Parmesan
-1/2 c Italian seasoned breadcrumbs (or add 1/2 tsp Italian seasoning)
-1 egg

Step 2: Prep the oven
Preheat the oven to 400 degrees Fahrenheit.

Step 3: Mix ingredients


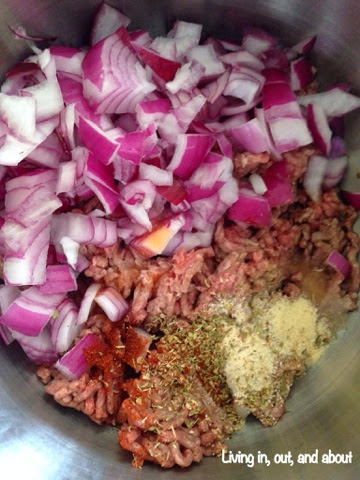
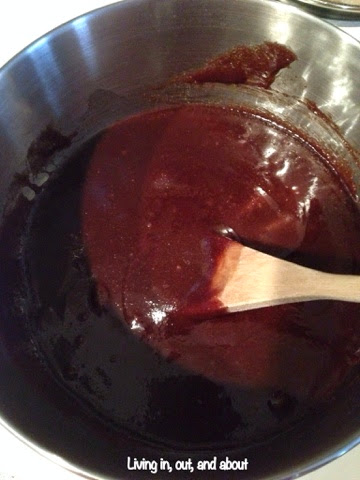
In a large bowl, mix together the beef, salt, onion, garlic powder, oregano, red pepper flakes, hot sauce, and Worchestershire sauce.


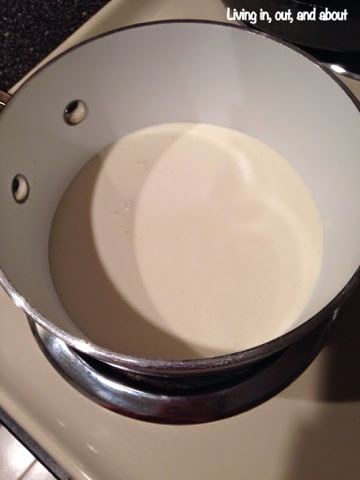
Add and mix in the milk, Parmesan cheese, and bread crumbs.


I also added in an egg to hold the meatballs together.

Step 4: Form the meatballs

Using your hands, two spoons, or an ice cream scooper (make sure to wash thoroughly if you use the scooper!), create your meatballs, mine ended up being about 2" in diameter, but make then whatever size you prefer.

Step 5: Bake

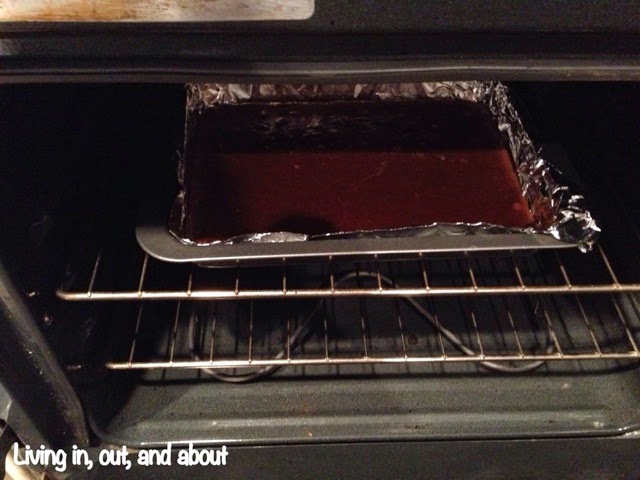
Put the meatballs on a baking sheet or in a baking dish. I chose to drench mine in some pasta sauce so those tomato juices would get absorbed into the meatballs. Bake the meatballs for approximately 20-25 minutes, checking to make sure they are not pink in the middle. 

Step 6: Serve

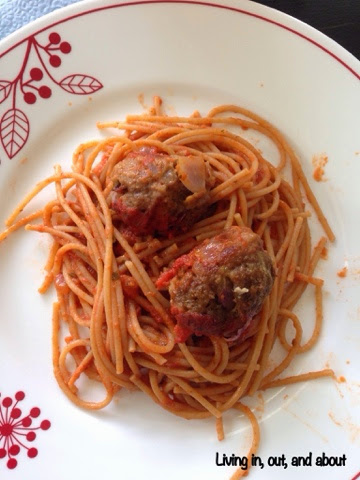
Serve atop a bed of spaghetti and pasta sauce or really any other type of pasta! You can also serve them with some mashed potatoes, mac 'n cheese, or polenta. Try it, and let me know if you have any suggestions!

Enjoy!

*J*

Thursday, April 3, 2014

In: Minty ganachey brownies

After a two month hiatus (caused by a busy work schedule + 2 week vacation), I'm back on Blogger. And I'm back with a bang.

After reading this post, you'll either (1) love me for introducing you to a delicious dessert recipe, or (2) curse me for all the cavities you've gotten from baking and eating too many of these.

Minty ganachey brownies, or as MomOnTimeOut calls them "Mint Chocolate Brownies" are a quite heavenly dessert that will guarantee happy taste buds and aching teeth. I basically followed the recipe linked above, so feel free to check out the original site as well.

Step 1: Gather your ingredients
Brownie:
½ cup butter (unsalted, chopped)
4 oz semisweet chocolate (chopped or chips)
¼ c Andes chocolate (chopped or baking chips)
1 ¼ c sugar
1 tsp vanilla extract
½ tsp peppermint extract
2 eggs (room temp)
½ c all purpose flour
¼ tsp salt 

Mint frosting:
½ cup butter (unsalted, softened)
2 c confectioners sugar
1 Tbsp water
½ tsp peppermint extract
3-4 drops green food coloring

Chocolate Ganache:
1 c heavy whipping cream
1 c semisweet chocolate (chopped or chips)
¼ c Andes chocolate (chopped) [optional]

Step 2: Prepare the brownie layer
Preheat the oven to 325 degrees. Meanwhile, line an 8x8 or 13x9 pan with aluminum foil. Then, start working on the brownie mix.


Use a double boiler (or metal bowl that sits on top of a pot of water) to melt the butter and chocolates.

Remove from the stove and mix in the extracts, sugar, and eggs. Then add the flour and salt, mixing until smooth.
Pour the mix into the lined pan and bake the brownies for about 25 minutes or until set. Set aside on a cooling rack or in the refrigerator until the brownies are cooled down.

Step 3: Prepare the mint layer
Put softened butter in a mixing bowl and whip (I hand-whipped with a spatula) until the butter is soft and airy.
Add the remaining ingredients, stirring until fully mixed in.

Spread the mint frosting on the cooled brownies. Place pan back in the refrigerator to cool.

Step 4: Prepare the ganache layer
Simmer the whipping cream (this may take a while, but make sure to keep an eye on it to avoid boiling or burning the cream!).


Put the chocolate in a mixing bowl. Add the whipping cream and mix until smooth.


Let the ganache cool down for about 15 minutes. Then pour the ganache on top of the mint frosting + brownies.
Let the ganache set for about 5 minutes. Then feel free to sprinkle the extra Andes mint chocolate on your minty ganachey brownies.

Enjoy! And don't share too much, or else you'll be sorry when they're all gone!

*J*